📑 LaskuTasku Add Client Guide #
This page allows you to add a new client to your system so that you can create invoices for them and manage their details.
First please go to “Clients” from right menu, then click on “Add Client”

After clicking Add Client you can see following page:
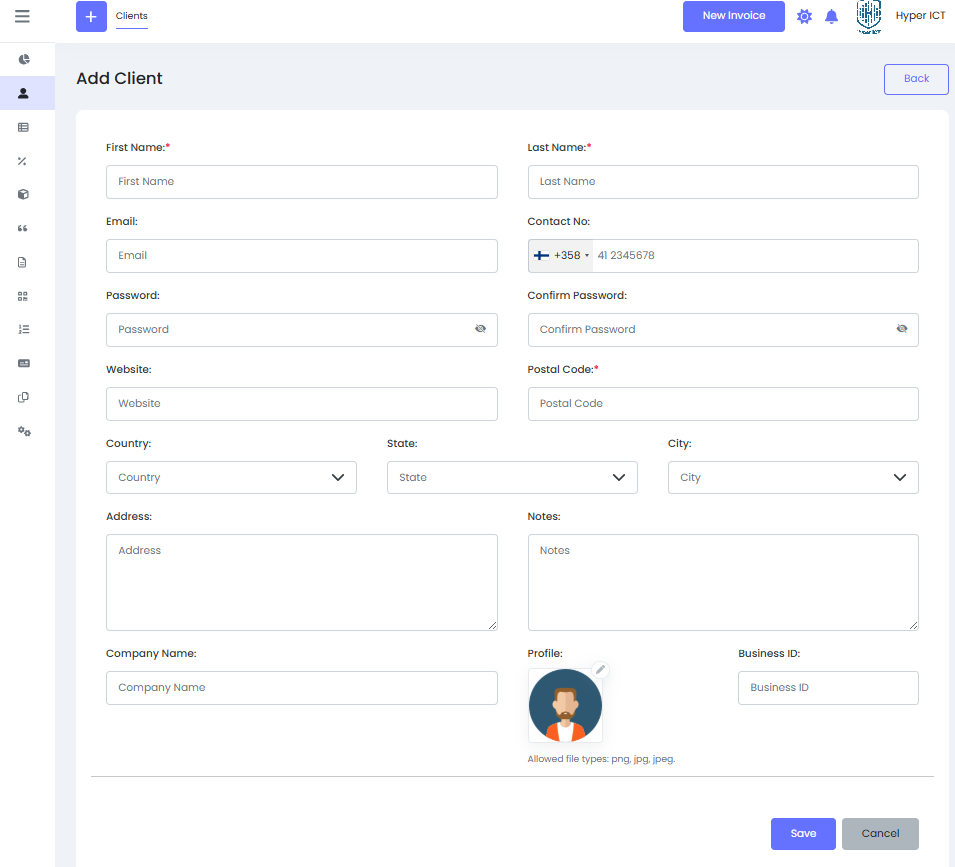
📝 How to fill out this form #
1️⃣ Basic Information #
- First Name:
Enter the client’s first name. (Required) - Last Name:
Enter the client’s last name. (Required) - Email:
Enter the client’s email address. This will be used for sending invoices and notifications. - Contact No:
Enter the client’s phone number. You can select the country code.
2️⃣ Security Details #
- Password:
Set a password for this client’s account (if they will log in). - Confirm Password:
Re-enter the same password to confirm.
3️⃣ Address & Location #
- Website:
Client’s website URL (optional). - Postal Code:
The postal/ZIP code of the client. (Required) - Country, State, City:
Select the country, state/province, and city from the dropdown menus. - Address:
Enter the street address or full mailing address.
4️⃣ Additional Information #
- Notes:
Any extra notes about this client that you’d like to keep for your records. - Company Name:
Enter the client’s company name if applicable. - Business ID:
Enter the client’s business registration number or tax ID.
5️⃣ Profile Picture #
- Profile:
Upload a profile image for this client.
Supported formats:png,jpg,jpeg.
✅ Save or Cancel #
- Save:
Click this to create the new client with all the entered information. - Cancel:
Click to discard the entry and return to the previous screen.
✅ That’s it!
Now you can easily select this client when creating new invoices or managing your client list.


